
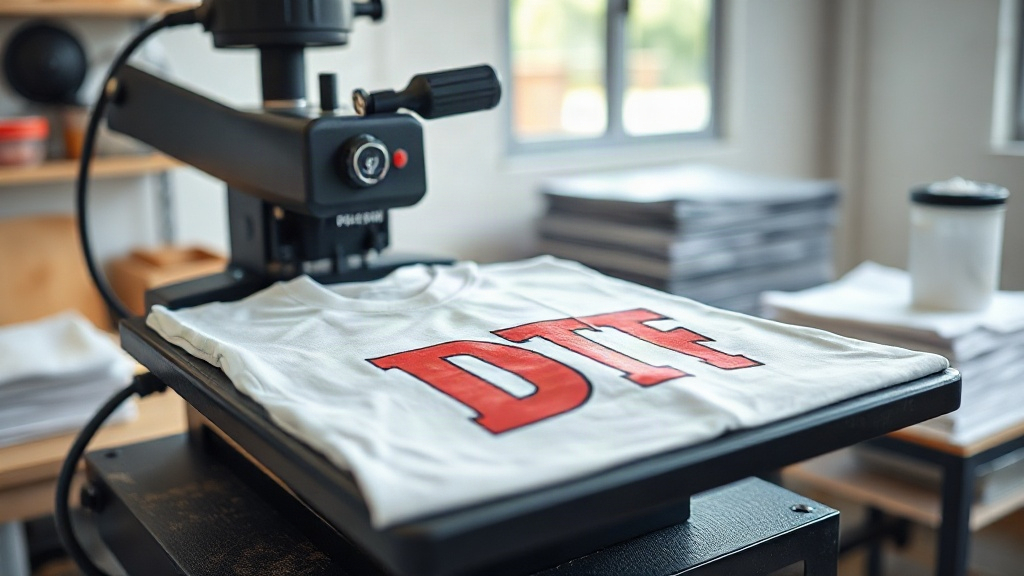
Imagine pressing a button and watching a full-color design bond seamlessly to a cotton tote bag, a polyester jersey, or even a denim jacket. That's the promise of DTF transfers, a digital printing technology that has taken the custom apparel world by storm. Unlike traditional methods that require specific fabrics or minimum orders, DTF transfers offer flexibility, vibrant colors, and impressive durability. In this guide, I'll walk you through everything you need to know to get started with DTF transfers, sharing insights from my own trial-and-error journey.
What Are DTF Transfers?
DTF stands for Direct to Film. The process involves printing your design onto a special PET film using a DTF printer with pigment-based inks. A powdered hot-melt adhesive is then applied to the wet ink, and the film is cured. The result is a transfer that can be stored and later applied to garments using a heat press. The magic lies in the adhesive: it bonds the ink to the fabric, creating a soft, stretchable print that withstands washing.
Why does this matter? Because DTF transfers work on a wide range of materials, including cotton, polyester, blends, and even leather. No pre-treatment is needed, and you can print intricate details, gradients, and photographs with stunning clarity.
How DTF Transfers Differ from Other Printing Methods
If you've tried screen printing or DTG (Direct to Garment), you know their limitations. Screen printing is cost-effective for bulk orders but requires separate screens per color and struggles with complex designs. DTG excels on 100% cotton but can look faded on dark shirts and requires pre-treatment. DTF transfers sidestep these issues.
Here's a quick comparison:
- Screen Printing: Best for simple, high-volume designs; limited color blending.
- DTG: Great for detailed designs on cotton; pre-treatment needed; less durable on synthetics.
- DTF Transfers: Versatile across fabrics; no pre-treatment; vibrant colors; durable; suitable for small batches.
From my experience, DTF transfers shine when you need one-off custom items or a mix of fabric types. I once printed a detailed pet portrait on a polyester performance shirt, and it came out perfectly, something DTG would have struggled with.
The DTF Transfer Process Step by Step
Understanding the workflow helps you avoid costly mistakes. Here's the breakdown:
1. Design Preparation
Start with a high-resolution image (300 DPI). Mirror the design horizontally because you'll press it face down. Use RIP software to manage color profiles and ink limits. I recommend printing a test strip to check for banding or color shifts.
2. Printing
Load the PET film into your DTF printer. Ensure the white ink layer is properly configured; it acts as a base for vibrant colors on dark fabrics. Print the design, and immediately proceed to powdering.
3. Powdering and Curing
While the ink is wet, sprinkle hot-melt adhesive powder over it. Shake off excess, then cure the film in an oven or with a heat gun until the powder melts and becomes glossy. This step is crucial: under-curing leads to wash-off, over-curing causes cracking.
4. Transfer Application
Set your heat press to 325°F (160°C) with medium pressure. Place the transfer on the garment, cover with a Teflon sheet, and press for 15-20 seconds. Peel the film while hot (or cold, depending on the film type). For best results, do a second press for 5 seconds with a cover sheet to embed the ink into the fabric.
Choosing the Right Materials
Not all DTF films and powders are created equal. Here's what I look for:
- Film: Double-sided matte film for better ink absorption and easy peeling.
- Inks: High-quality pigment inks that resist fading.
- Powder: Fine-grade TPU adhesive for a soft feel and strong bond.
Investing in good supplies pays off in durability and customer satisfaction. Cheap film can cause curling or ink smudging, ruining your print.
Common Challenges and How to Overcome Them
Even seasoned pros face issues. Here are solutions to frequent problems:
- Faded colors after washing: Increase curing time or temperature; ensure powder is fully melted.
- Cracking: Reduce pressure or temperature; over-pressing makes the print brittle.
- Peeling edges: Use a higher-quality powder and press with consistent pressure across the entire transfer.
- Ink bleeding: Adjust your printer's ink limits and use a film designed for DTF.
I learned the hard way that skipping a test press can lead to a ruined garment. Always test on a scrap piece first.
Applications of DTF Transfers
DTF transfers aren't just for t-shirts. They open doors to personalized products:
- Custom apparel: t-shirts, hoodies, leggings, and jackets.
- Accessories: tote bags, hats, and backpacks.
- Home decor: pillow covers, aprons, and quilt squares.
- Promotional items: company logos on uniforms or event giveaways.
The versatility means you can cater to diverse clientele without switching equipment.
Tips for Stunning DTF Transfers
After countless trials, I've picked up a few tricks:
- Always mirror your design; it's the most common rookie mistake.
- Use a lint roller on the garment before pressing to remove debris.
- Pre-press the garment for 5 seconds to remove moisture and wrinkles.
- Store unused transfers in a cool, dry place to prevent powder degradation.
- For stretchy fabrics, stretch the garment slightly during pressing to avoid cracking when worn.
Frequently Asked Questions
How long do DTF transfers last?
With proper application and care, DTF transfers can last 50+ washes. Turn the garment inside out and wash in cold water; avoid bleach and high heat in the dryer.
Can I use DTF transfers on dark colors?
Absolutely. The white ink layer in DTF transfers ensures vibrant colors on dark fabrics. Just make sure your design includes a white base where needed.
What's the difference between DTF and DTG?
DTF uses a transfer film and adhesive powder, while DTG prints directly onto the garment. DTF works on more fabrics and doesn't require pre-treatment, but DTG can be more cost-effective for 100% cotton in large runs.
Do I need a special printer for DTF?
Yes, a DTF printer with pigment inks and a white ink channel is required. However, you can also outsource printing to a service and just apply the transfers yourself.
How do I prevent the transfer from peeling?
Ensure proper curing of the powder, use adequate pressure, and press for the full recommended time. Also, wait 24 hours before washing the garment.
Final Thoughts
DTF transfers have revolutionized custom printing by combining versatility, durability, and ease of use. Whether you're a hobbyist or a business owner, mastering this technology can expand your creative and commercial possibilities. Remember, quality supplies and attention to detail make all the difference. So fire up your printer, press a few test pieces, and watch your designs come to life on almost any fabric.