
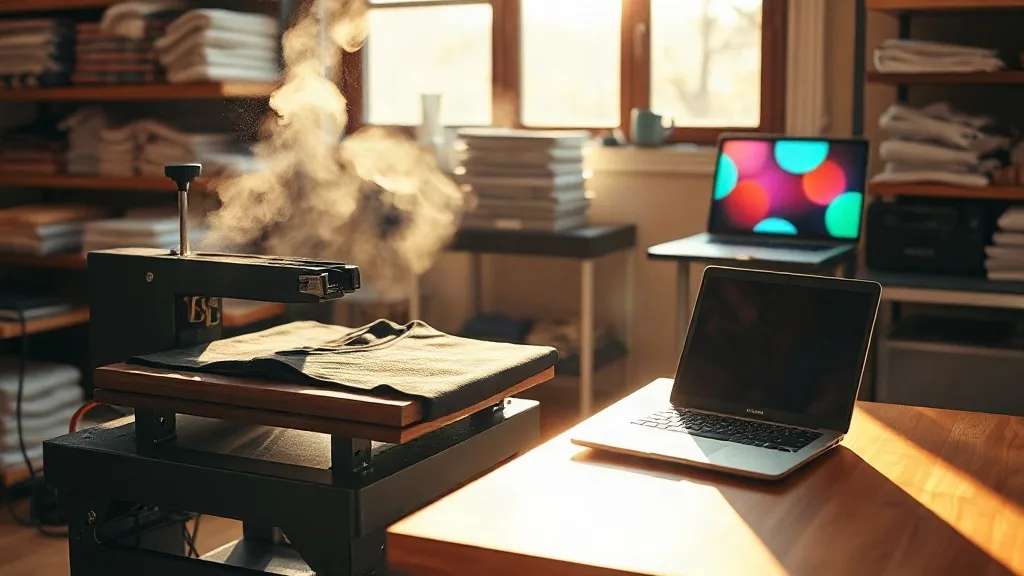
Walk into a small print shop on a busy Friday and you will usually find the same scene: a heat press cycling through orders, a laptop open with three design files, and somebody asking whether the new transfer method is worth the switch. For many owners, dtf transfers have quietly become the answer to a problem that screen printing and vinyl never fully solved, which is handling small, varied, full-color jobs without losing a whole afternoon to setup. This guide is written for the person actually running the press, not for a trade show brochure. It covers what matters in daily use, where the method trips people up, and how to price it so the work stays profitable.
Why DTF Earned a Place in Small Shops
The appeal of dtf printing is not that it beats every other method at everything. It is that it removes friction from the jobs that used to be annoying. A customer wants six hoodies, each a different size, with a full-color logo on the chest. Screen printing that order means burning screens for a small run, and vinyl means weeding tiny letters by hand. With a transfer, the same order is one print, one powder application, and six presses. That shift in effort is why so many shops keep a roll printer next to their existing equipment rather than replacing anything.
There are real trade-offs, and being honest about them builds better customer relationships. Transfers sit on top of the fabric rather than soaking into it, so the hand feel is slightly different from a water-based screen print. On dark garments, a white ink layer underneath the color is what makes the design pop, and that layer adds a bit of thickness. For most apparel buyers, this is a non-issue. For a boutique brand selling premium heavyweight tees, it is worth a conversation before you commit their order.
What Kinds of Jobs Fit Best
- Short runs with many colors, where screen setup costs would eat the margin.
- Names, numbers, and personalization where every piece differs.
- Sampling and proofs before a larger production run.
- Blanks in cotton, poly blends, and canvas that all need to be handled in one batch.
- Rush orders where the customer needs twenty pieces by tomorrow.
File Prep Decisions That Save Press Time
Most wasted film comes from files that looked fine on screen. A few habits prevent the majority of problems. First, build artwork at final print size with at least 300 DPI at that dimension, not at some larger size you plan to scale down later. Second, keep a thin white underbase behind every colored element unless you deliberately want the shirt color to show through, because a gap of even a fraction of a millimeter shows up as a light halo once pressed.
Third, mirror the artwork before printing. This sounds obvious, but mirrored output is the single most common mistake in a shop that is new to the process, and it is only discovered after the transfer is pressed and peeled. Build a checklist taped to the printer and follow it every time: correct size, mirrored, white layer present, no stray vector points outside the artboard. Ten seconds of checking beats reprinting a two-foot film.
Color Expectations
Colors on a transfer will read slightly differently than on a monitor, and they can shift a little depending on the shirt underneath. If a customer sends a brand color, ask for the Pantone reference or a physical sample rather than trusting a hex code. For repeat clients, keep a pressed sample on file with the date and settings noted. When they reorder six months later, you have a reference point instead of a guess.
Pressing Settings and the Variables That Actually Matter
Every film and powder combination has a recommended temperature and time, and those recommendations are a starting point rather than gospel. The variables that change results in practice are pressure, peel timing, and fabric thickness. A thick hoodie absorbs more heat than a thin tee, so the same settings can produce a weak bond on one and a perfect one on the other. Get in the habit of pressing a test piece from every new blank style before running the full order.
Pressure is the setting most often ignored. Too little pressure and the transfer sits on the surface without fully bonding. Too much and the design can spread or the carrier film can wrinkle. A medium, even pressure across the platen is what you want, and it is worth checking that your press is level once a season. Peel timing depends on whether the film is hot peel or cold peel, and mixing the two up is a reliable way to ruin a garment. Label your film rolls clearly.
A Simple Troubleshooting Table
- Cracks after washing: usually under-pressed or peeled too early. Increase time slightly and confirm the peel temperature.
- Patchy adhesion in one corner: uneven pressure or a platen that is not level.
- Color looks dull on dark shirts: missing or too thin a white underbase.
- Film sticks to the press: powder not shaken off properly before curing.
- Design feels stiff: the ink layer is too heavy, so reduce the white layer thickness on lighter garments.
Finding a Supplier Without Wasting Weeks
When a shop starts looking for a reliable source, the search often begins with something like dtf transfers near me, which is a reasonable instinct because local pickup means faster turnaround and easier reorders. What matters more than distance, though, is consistency. A supplier who ships the same film thickness and powder quality every time saves you from recalibrating your press on every order. Ask for a sample pack before committing to a bulk order, press the samples on the exact blanks you use most, and wash one piece three times before you decide. That test costs an afternoon and prevents months of customer complaints.
Also check how the supplier handles gang sheets. If you send a sheet with twelve small designs, you want them arranged efficiently so you are not paying for empty film. Good suppliers will tell you their nesting rules up front, and that transparency is usually a sign of a shop that understands production rather than one that just resells.
Pricing So the Work Stays Worth Doing
A common mistake is pricing transfers like screen printing with a per-color multiplier. That logic does not fit, because color count barely affects your cost. What does affect cost is film area, powder, press time, and labor for weeding and trimming. Build your price from those inputs. A simple approach is to set a base price for the first piece that covers setup, then a lower per-piece price for additional units of the same design. This rewards larger orders without punishing the small ones that keep your schedule full.
Do not forget the cost of mistakes. Every shop has a scrap rate on transfers, and it should be baked into pricing rather than absorbed silently. If you press fifty pieces a week and ruin two, that is a real expense. Track it for a month and you will know your true numbers.
Where the Margin Actually Comes From
Speed is the margin. A shop that can move from file to finished garment in fifteen minutes can take on same-day work that competitors turn down, and same-day work commands a premium. The equipment cost is fixed, so the more jobs you push through it, the better the economics look. That is a different mindset from screen printing, where setup dominates, and it is worth adjusting your sales pitch to match.
Common Questions From Shop Owners
How long do DTF transfers last after washing?
With a proper press and correct settings, most transfers hold up through dozens of wash cycles. Wash inside out in cold water and avoid high dryer heat, and the print will outlast the garment in most cases. Adhesion problems almost always trace back to pressing rather than the film itself.
Can I press transfers onto polyester and nylon?
Polyester works well, though it needs a lower temperature than cotton to avoid dye migration and scorching. Nylon is trickier and usually benefits from a test press first. Always run a scrap piece of the exact fabric before committing a customer order.
Do I need a special printer for DTF?
You need a printer that handles DTF ink and a powder shaker or a manual powder station. Many shops start with a converted inkjet setup and a small curing oven, then upgrade as volume grows. The press itself is the same heat press you likely already own.
Is it worth offering transfers for single pieces?
Yes, and this is where the method shines. A single full-color piece is uneconomical with screen printing but perfectly reasonable with a transfer. Set a minimum order value that covers your time, and single-piece work becomes a steady source of walk-in revenue.
How do I store unused transfers?
Keep them flat, dry, and out of direct sunlight. Humidity is the main enemy because it affects the powder. A sealed bin with a desiccant pack works well, and labeling each batch with the date helps you use older stock first.