
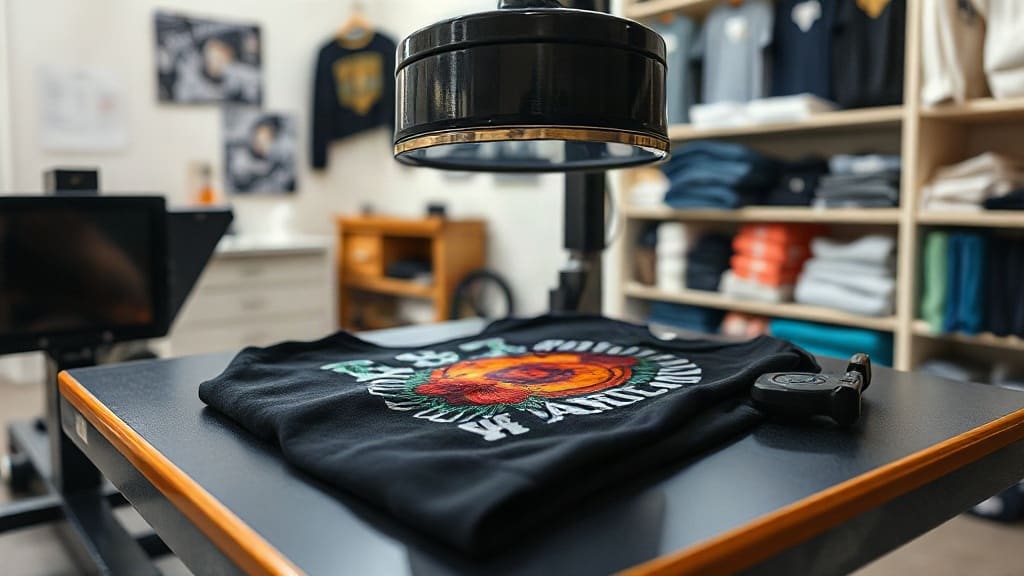
If you're in the custom apparel business or just love making your own shirts, you've probably heard about dtf transfers. They've become a game-changer for many creators because they offer a simple way to get vibrant, detailed designs onto fabric. But what exactly are they, and how do you use them effectively? In this guide, I'll walk you through everything you need to know, from the basics to advanced tips that will make your transfers look professional.
I remember the first time I tried a DTF transfer. I was skeptical because I'd had mixed results with other methods. But when I pressed that first design and peeled it off, I was amazed at how crisp and colorful it looked. Since then, I've experimented with different materials, printers, and techniques, and I've learned a lot along the way. Let me share that knowledge with you.
What Are DTF Transfers?
DTF stands for Direct to Film. It's a printing method where your design is printed onto a special film using a printer with white ink, then coated with adhesive powder. The film is then heat pressed onto a garment, transferring the design. Unlike traditional screen printing or vinyl, dtf transfers allow for intricate, full-color designs without the need for screens or weeding.
Why Choose DTF Transfers?
There are several reasons why DTF has become so popular. First, it works on a wide range of fabrics, including cotton, polyester, blends, and even tricky materials like nylon. Second, the prints are soft to the touch, unlike some vinyl that feels stiff. Third, the colors are incredibly vibrant, and you can achieve photorealistic details. Finally, it's a cost-effective option for small runs and custom orders because there's no setup fee like screen printing.
Materials You'll Need
Before you start, gather these supplies:
- DTF film (PET film specifically for DTF)
- DTF printer with white ink capability (often a converted Epson or specialized DTF printer)
- Adhesive powder (hot melt powder)
- Heat press (though some use an oven or laminator for the powder, a heat press is essential for the final transfer)
- Release liner (if you're making your own transfers)
- Teflon sheet or parchment paper for pressing
Step-by-Step Guide to Applying DTF Transfers
Applying a DTF transfer is straightforward, but getting it right takes attention to detail. Here's a process that works well:
1. Print Your Design
Start with a high-resolution image. Print it in reverse (mirrored) onto the DTF film using the correct color settings. Make sure the print is fully dry before moving to the next step.
2. Apply Adhesive Powder
While the ink is still wet, cover the printed area with adhesive powder. You want a generous but even coat. Shake off the excess and then shake it again to remove any powder from non-printed areas.
3. Melt the Powder
This is crucial. You need to melt the powder so it fuses with the ink. You can use a heat press at around 320°F for 20-30 seconds, or you can use a specialized powder curing oven. If you're using a heat press, place the film on a flat surface with a Teflon sheet on top to prevent sticking. The powder will melt and become clear.
4. Prepare Your Garment
Pre-press your garment for a few seconds to remove moisture and wrinkles. Place it on the heat press.
5. Position and Press
Place the transfer film with the printed side facing down onto the garment. Use heat tape to hold it in place if needed. Press at 320°F for 20-30 seconds with firm pressure. The exact time and temperature can vary based on the film and powder brand, so always test first.
6. Peel
After pressing, you have two options: hot peel or cold peel. Some films require hot peel (peel immediately), while others need to cool down. Check your film's instructions. Generally, hot peel gives a matte finish, and cold peel gives a shiny finish. I usually prefer cold peel for a smoother look.
Tips for Perfect DTF Transfers
To get the best results, keep these tips in mind:
- Use high-quality film and powder. Cheap materials often lead to cracking and poor adhesion.
- Calibrate your printer for the right ink density. Too much ink can cause bleeding, and too little results in dull colors.
- Press with even pressure. If your press isn't even, you'll get spots where the transfer doesn't stick.
- Always test on a sample fabric before doing a full run, especially if you're using a new batch of materials.
Common Mistakes and How to Avoid Them
When I started, I made a few blunders. Here are some pitfalls to watch out for:
Peeling too early: If you peel hot when the film requires a cold peel, you might pull off some of the adhesive, leaving you with a patchy print. Always let it cool if you're unsure.
Washing too soon: Wait at least 24 hours before washing garments with DTF transfers. This allows the adhesive to fully cure.
Using the wrong temperature: Too high can scorch the film or fabric, and too low won't activate the adhesive. Use a thermometer to verify your press temperature.
Washing and Care Instructions
To prolong the life of your DTF transfers, advise your customers (or follow yourself) these care guidelines: wash in cold water, turn the garment inside out, use mild detergent, and avoid bleach. Tumble dry on low or hang dry. Do not dry clean.
Frequently Asked Questions
Can I use DTF transfers on dark shirts?
Yes, DTF transfers work beautifully on dark garments because the white ink layer acts as a base, making colors pop. Just ensure you press with enough time and temperature to cure properly.
How many washes do DTF transfers last?
With proper application and care, DTF transfers can last for many washes, often 50 or more. The key is using quality materials and following the correct pressing parameters.
Do I need a special printer for DTF?
Yes, you need a printer that can print white ink. Many people convert EcoTank printers, but there are also dedicated DTF printers on the market. Using a regular inkjet won't work because it lacks white ink.
Can I make DTF transfers at home?
Absolutely. You can set up a small DTF station at home with a printer, heat press, and the necessary supplies. It's a bit of an investment initially, but it pays off if you plan to do it regularly.
What's the difference between DTF and sublimation?
Sublimation works only on polyester or polymer-coated items and requires a special paper. DTF works on cotton and many other fabrics. DTF also produces a print that's on the surface, while sublimation dyes the fabric. For cotton, DTF is often a better choice.
Final Thoughts
DTF transfers are a versatile and exciting way to create custom apparel. With a bit of practice, you'll be able to produce professional-quality prints that impress your customers or friends. Remember to start with good materials, follow the steps carefully, and always test. If you're looking for high-quality DTF supplies, check out dtfclassic.com for films, powders, and more. Happy printing!