
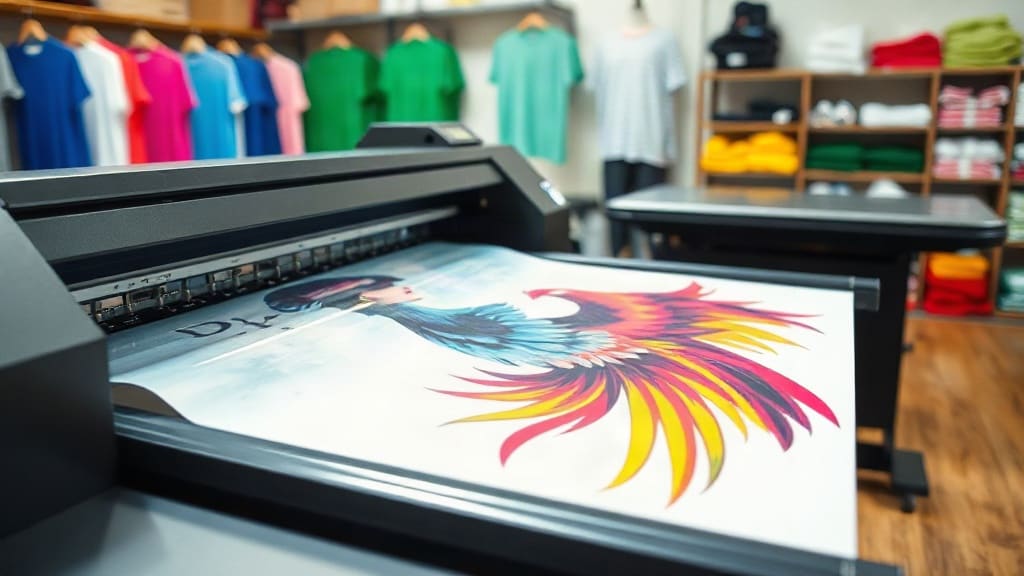
DTF transfers have revolutionized the custom apparel industry, offering a versatile and cost-effective way to create vibrant designs on various fabrics. Whether you're a seasoned printer or a hobbyist exploring new techniques, understanding the ins and outs of DTF transfers can elevate your projects and streamline your workflow.
In this comprehensive guide, I'll share my personal experience with DTF printing, breaking down the process, materials, and practical tips I've learned along the way. From choosing the right film to troubleshooting common issues, you'll gain the knowledge to produce professional-quality results without the steep learning curve.
What Are DTF Transfers?
DTF, or Direct to Film, is a printing method where a design is printed onto a special PET film using a DTF printer, then transferred to fabric via a heat press. Unlike traditional screen printing or vinyl, DTF allows for intricate, full-color designs with soft hand feel and excellent durability. The process involves printing a mirrored image, applying adhesive powder, and curing it before pressing onto the garment.
I remember the first time I tried DTF; I was amazed at how seamlessly it handled complex gradients and small text that would have been a nightmare with other methods. Since then, I've used DTF transfers for custom t-shirts, hoodies, tote bags, and even mouse pads.
How Does DTF Transfer Work?
The core steps include printing the design on a PET film with specialized CMYK+White inks, dusting with hot-melt adhesive powder, curing the powder, and then heat pressing the film onto the fabric. The result is a vibrant, stretchable print that can withstand washing.
Why Choose DTF Transfers?
There are several compelling reasons to choose DTF transfers over other methods. First, it works on a wide range of fabrics, including cotton, polyester, blends, and even leather. Second, the prints are highly detailed and vibrant, with no need for underbase layers. Third, the turnaround time is fast, making it ideal for on-demand and small batch orders.
DTF vs. Screen Printing
Screen printing requires multiple screens and setup, making it cost-effective only for large quantities. DTF, on the other hand, has minimal setup and is perfect for low to medium runs. I've often used DTF for small orders that would have been too expensive to screen print.
DTF vs. Vinyl
Vinyl is great for simple designs and solid colors, but it lacks the ability to reproduce gradients and photographic images. DTF transfers excel at complex designs, offering a softer feel and better breathability compared to heat transfer vinyl.
Essential Materials for DTF Printing
To get started with DTF, you'll need a DTF printer (usually a modified Epson or specialized model), DTF inks (CMYK+White), PET film, adhesive powder, and a heat press. Additionally, you should have a curing oven or a heat gun to activate the adhesive.
When I first assembled my setup, I learned that the quality of the film and powder significantly affects the final result. I recommend investing in high-grade PET film with a matte or glossy finish, depending on your preference, and a fine-grit adhesive powder for a smooth feel.
Choosing the Right DTF Printer
There are various DTF printers available, from entry-level models suitable for small businesses to high-volume industrial machines. Key factors to consider include print width, ink system, and whether it comes with an integrated powder shaker and dryer. For beginners, starting with a simple model and upgrading as you grow is wise.
Understanding DTF Inks
DTF inks are pigment-based and require a white ink for printing on dark fabrics. The white ink is crucial for opacity and must be properly maintained to prevent clogging. I've found that using genuine, high-quality inks from reputable brands ensures consistent color and durability.
Step-by-Step Guide to Making DTF Transfers
Let me walk you through the process I follow to create perfect DTF transfers every time.
Step 1: Design and Prepare the Image
Create or edit your design using graphic software. Ensure it has high resolution (at least 300 DPI) and is in PNG format with transparency. Remember to mirror the image horizontally, as it will be transferred face down.
Step 2: Print the Design onto PET Film
Load the PET film into your DTF printer and print the design with the ink settings appropriate for your film type. The white ink layer is printed first, followed by the CMYK colors. Allow the print to dry briefly before handling.
Step 3: Apply Adhesive Powder
While the ink is still slightly tacky, shake a generous amount of adhesive powder over the printed area. Ensure even coverage, especially on the edges. Then, remove excess powder by gently tapping the film.
Step 4: Cure the Powder
Heat the film in a curing oven or with a heat gun to melt the adhesive powder, turning it from a dusty texture to a smooth, sticky layer. This step is critical for proper adhesion during transfer.
Step 5: Heat Press Onto Fabric
Preheat your heat press to around 320°F (160°C). Place the garment on the press, position the cured film (with the design facing down), and apply medium pressure for 15-20 seconds. Once done, peel off the film while it's still warm or cold, depending on the film type.
I've experimented with both hot and cold peeling, and I've found that warm peeling works best for most films, leaving a smooth finish. After peeling, you may want to do a quick post-press with a Teflon sheet to ensure full adhesion.
Tips for Perfect DTF Transfers
Through trial and error, I've gathered several tips that can help you avoid common pitfalls.
Always Test on a Sample Fabric
Before printing a full order, always test your design on a scrap piece of the same fabric to check color accuracy, adhesion, and wash durability. This saves time and materials.
Maintain Your Printer Regularly
DTF printers require regular cleaning, especially the printhead, to prevent clogging with white ink. I clean my printer after every few runs and use a high-quality cleaning solution to keep the nozzles clear.
Store Film and Powder Properly
Exposure to moisture and dust can degrade the film and powder. Store them in a cool, dry place, and use airtight containers for the powder to maintain its flowability.
Common Mistakes to Avoid
Beginners often encounter similar issues. Here are some I've seen and dealt with:
- Using too much powder: Excess powder can cause a rough finish and poor adhesion. Use just enough to cover the design thinly.
- Incorrect heat settings: Too low heat won't bond properly, while too high can scorch the fabric. Follow the film manufacturer's recommendations.
- Not curing the powder sufficiently: If the powder isn't fully melted, the transfer will have weak spots. Ensure even heat distribution.
- Skipping the mirror step: Forgetting to mirror the design results in reversed text and images. Double-check before printing.
Frequently Asked Questions about DTF Transfers
Can I use DTF transfers on dark fabrics?
Absolutely. DTF printing includes a white ink layer that provides opacity, making it perfect for dark and vibrant fabrics. The white base ensures your colors stand out without looking washed out.
How durable are DTF transfers?
DTF transfers are known for their durability. They can withstand multiple washes without cracking or fading, provided you follow proper application and care instructions. I've washed my DTF shirts dozens of times and they still look great.
Do I need a special printer for DTF?
Yes, you need a printer that supports DTF inks and can handle white ink. Many people convert Epson EcoTank printers to DTF, but it's better to invest in a purpose-built DTF printer for reliability and warranty.
How long does a DTF transfer last?
With proper care, DTF transfers can last as long as the garment itself. The print won't crack or peel like traditional vinyl, and the colors remain vibrant. Washing inside out and air drying can extend the life further.
Is DTF cost-effective for small orders?
Yes, DTF is highly cost-effective for small orders because there's no screen setup cost. You can print a single shirt at a reasonable price, making it ideal for custom orders and small businesses.
Conclusion
DTF transfers have opened up a world of possibilities for custom apparel printing, combining versatility, quality, and efficiency. Whether you're producing for a business or for personal projects, mastering the DTF process will give you a competitive edge. I encourage you to experiment with different fabrics and designs to fully harness the power of this technology.
Remember, practice makes perfect. Start with simple designs, follow the recommended guidelines, and you'll soon be creating professional-grade transfers that impress your clients or customers. If you're ready to dive in, there's no better time than now to explore the world of DTF.